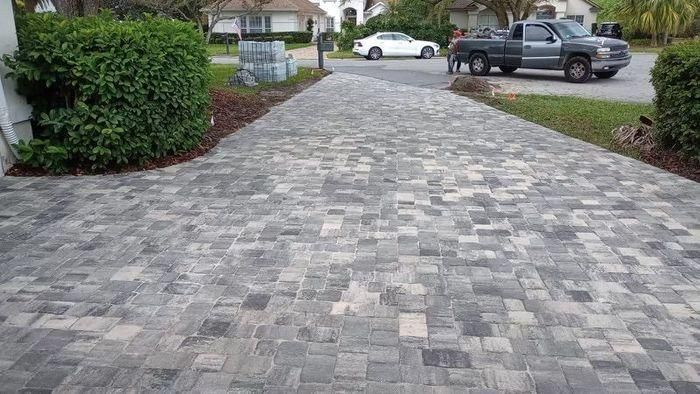
Paver Walkway Installation: A Step-by-Step Guide to a Durable, Stylish Path
Creating a paver walkway is a fantastic way to enhance the look and functionality of your outdoor space. A well-designed path can connect your garden, patio, or driveway while adding charm and durability.
In this guide, we’ll walk you through each step, from planning and preparing the base to laying the pavers and finishing the job.
Let’s start building a walkway you’ll enjoy for years to come!
Step 1: Plan and Mark Your Path
The first step to creating your paver walkway is planning and marking the layout. If your walkway is straight, use stakes and string to outline the path. For curved designs, ropes work best to shape the bends. This is where you decide how your walkway will look, so take your time and make it just right.
Keep the width practical—about 36 to 48 inches is perfect for two people to walk side by side. Use a tape measure to ensure the width is even along the entire path and make any adjustments needed.
Once the layout is ready, use a shovel to cut into the ground along the edges to mark the perimeter clearly. This step prepares the area for building a strong base for your pavers. Now you're ready to move forward!
Step 2: Build a Strong Base for Your Walkwa
To ensure your walkway lasts, start by digging a trench deep enough for the paver thickness plus about 8.5 inches for the base. Make it slightly wider than the walkway for room to work, and clear out all dirt, rocks, roots, and sod. Compact the soil firmly using a plate compactor or hand tamper.
Add 7 inches of crushed gravel to the trench, spread it evenly with a rake, wet it lightly, and tamp it down well. This creates a solid foundation, so take your time to get it level.
Next, layer the sand. Lay two 1.5-inch PVC pipes along the edges of the gravel and pour sand between them. Use a flat board to level the sand (screeding), then remove the pipes, fill the gaps, and smooth the surface with a trowel. Lightly mist the sand with water to help it settle.
Now your base is solid and ready for the next step!
Step 3: Lay the Pavers
It’s time to start laying the pavers and see your walkway come to life. For a simple and strong design, try the running bond pattern. This pattern staggers each row by starting with a half block, which makes the walkway more durable and allows for gentle curves if needed.
Lay the pavers one at a time, tapping each into place with a rubber mallet. For any curves or tight spots, measure and mark the pavers then cut them with a concrete or wet saw. Be sure to wear safety goggles and gloves while cutting.
As you finish each section, secure the edges with plastic paver edging. Drive spikes into the edging every 12 inches to keep everything in place. Continue this process until your entire walkway is done.
With the pavers laid and secured, your walkway is really starting to take shape!
Step 4: Sand the Joints
Once the pavers are in place, it’s time to secure them with polymeric sand. Pour the sand generously over the walkway, making sure it fills the gaps between the pavers. This helps lock the pavers in place and keeps them stable over time.
Use a broom to sweep the sand into the joints, ensuring it’s packed evenly. After that, use a leaf blower on a low setting to gently clear any extra sand from the surface without disturbing the joints.
Finish by spraying the walkway with a fine mist of water. This activates the polymer in the sand, causing it to harden and bond the pavers together. Be sure not to oversaturate; a light mist is all you need.
With this step done, your walkway is now solid, secure, and ready to enjoy!
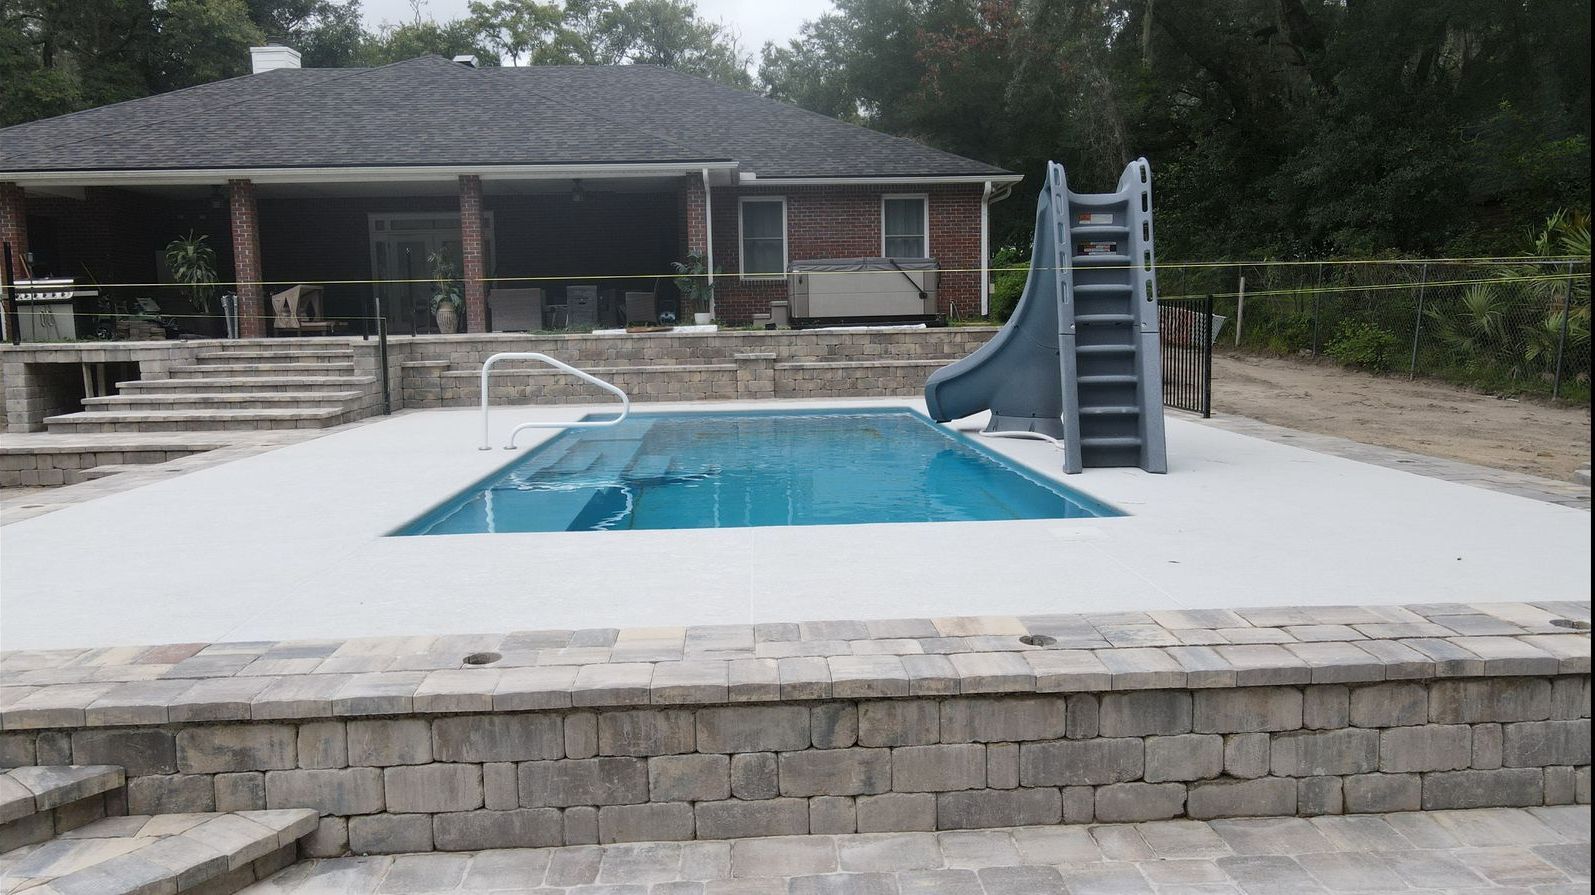
How to Level and Fix a Sinking Walkway
Fixing a sinking walkway is straightforward and can bring your path back to life. Here’s how you can do it step by step:
Remove the Sunken Pavers
Carefully lift the sinking pavers using a pry bar or similar tool. Take your time to avoid damaging them.
Clean the Pavers
Brush off any dirt or debris stuck to the pavers. Clean pavers will fit back neatly and evenly.
Level the Base
Check the base under the pavers. If it’s uneven, add some paver sand and smooth it out. This will create a flat and stable surface.
Reinstall the Pavers
Place the cleaned pavers back in their original positions. Use a rubber mallet to gently tap them into place and ensure they’re level with the rest of the walkway.
Secure with Polymeric Sand
Spread polymeric sand over the area and sweep it into the joints. Lightly mist the surface with water to activate the sand and lock the pavers firmly.
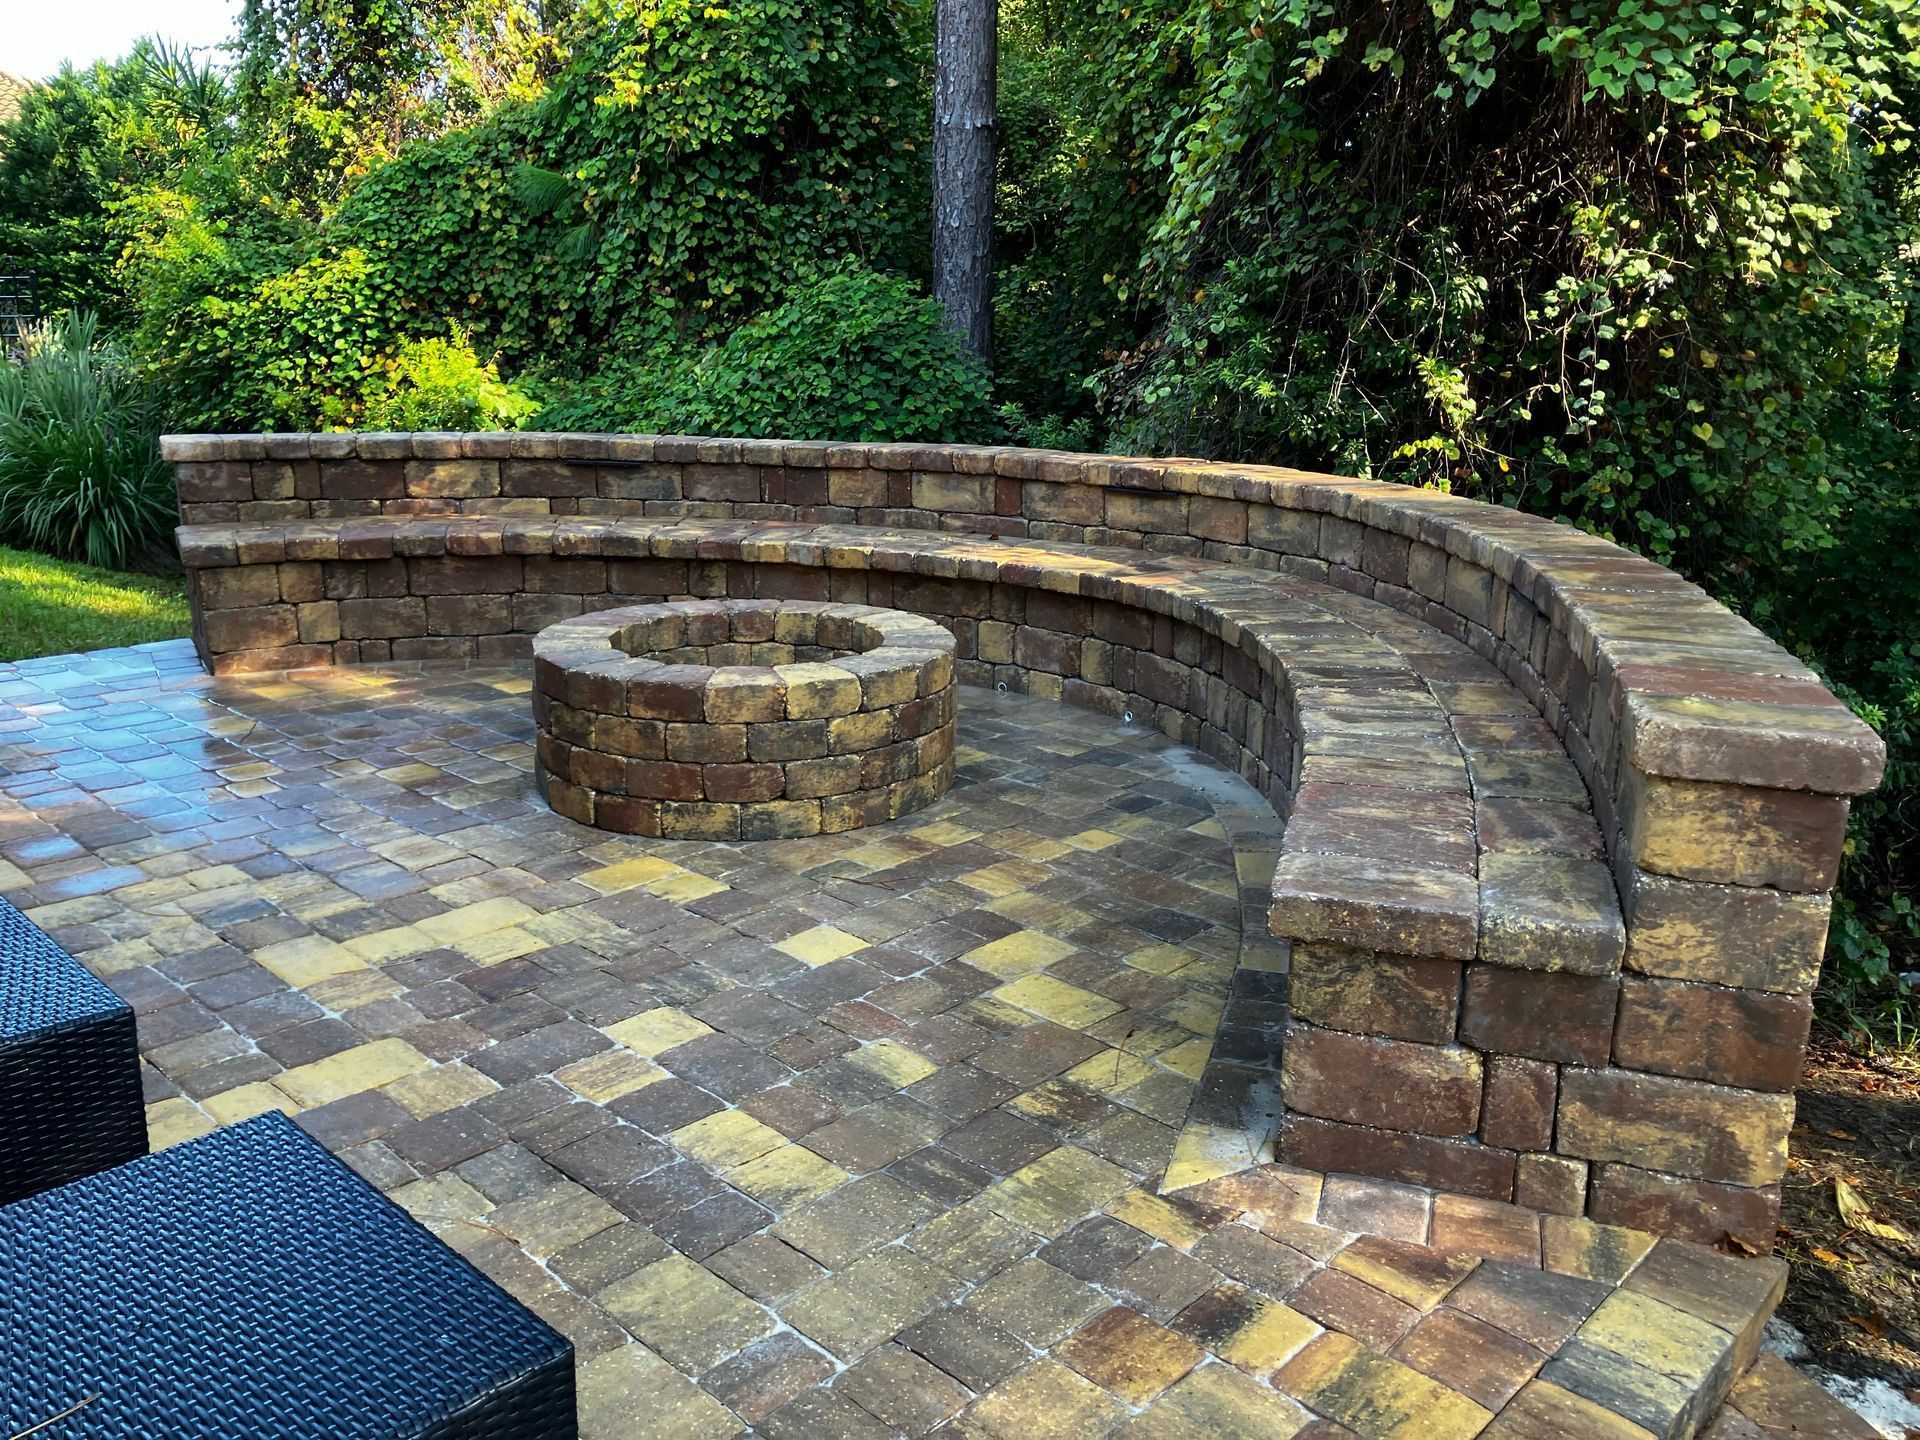
If your base is still solid, you might not need to dig it out. For our project, we skipped digging and instead focused on leveling and improving the slope by adding steps. With just a little effort, your walkway will be sturdy and look brand new!
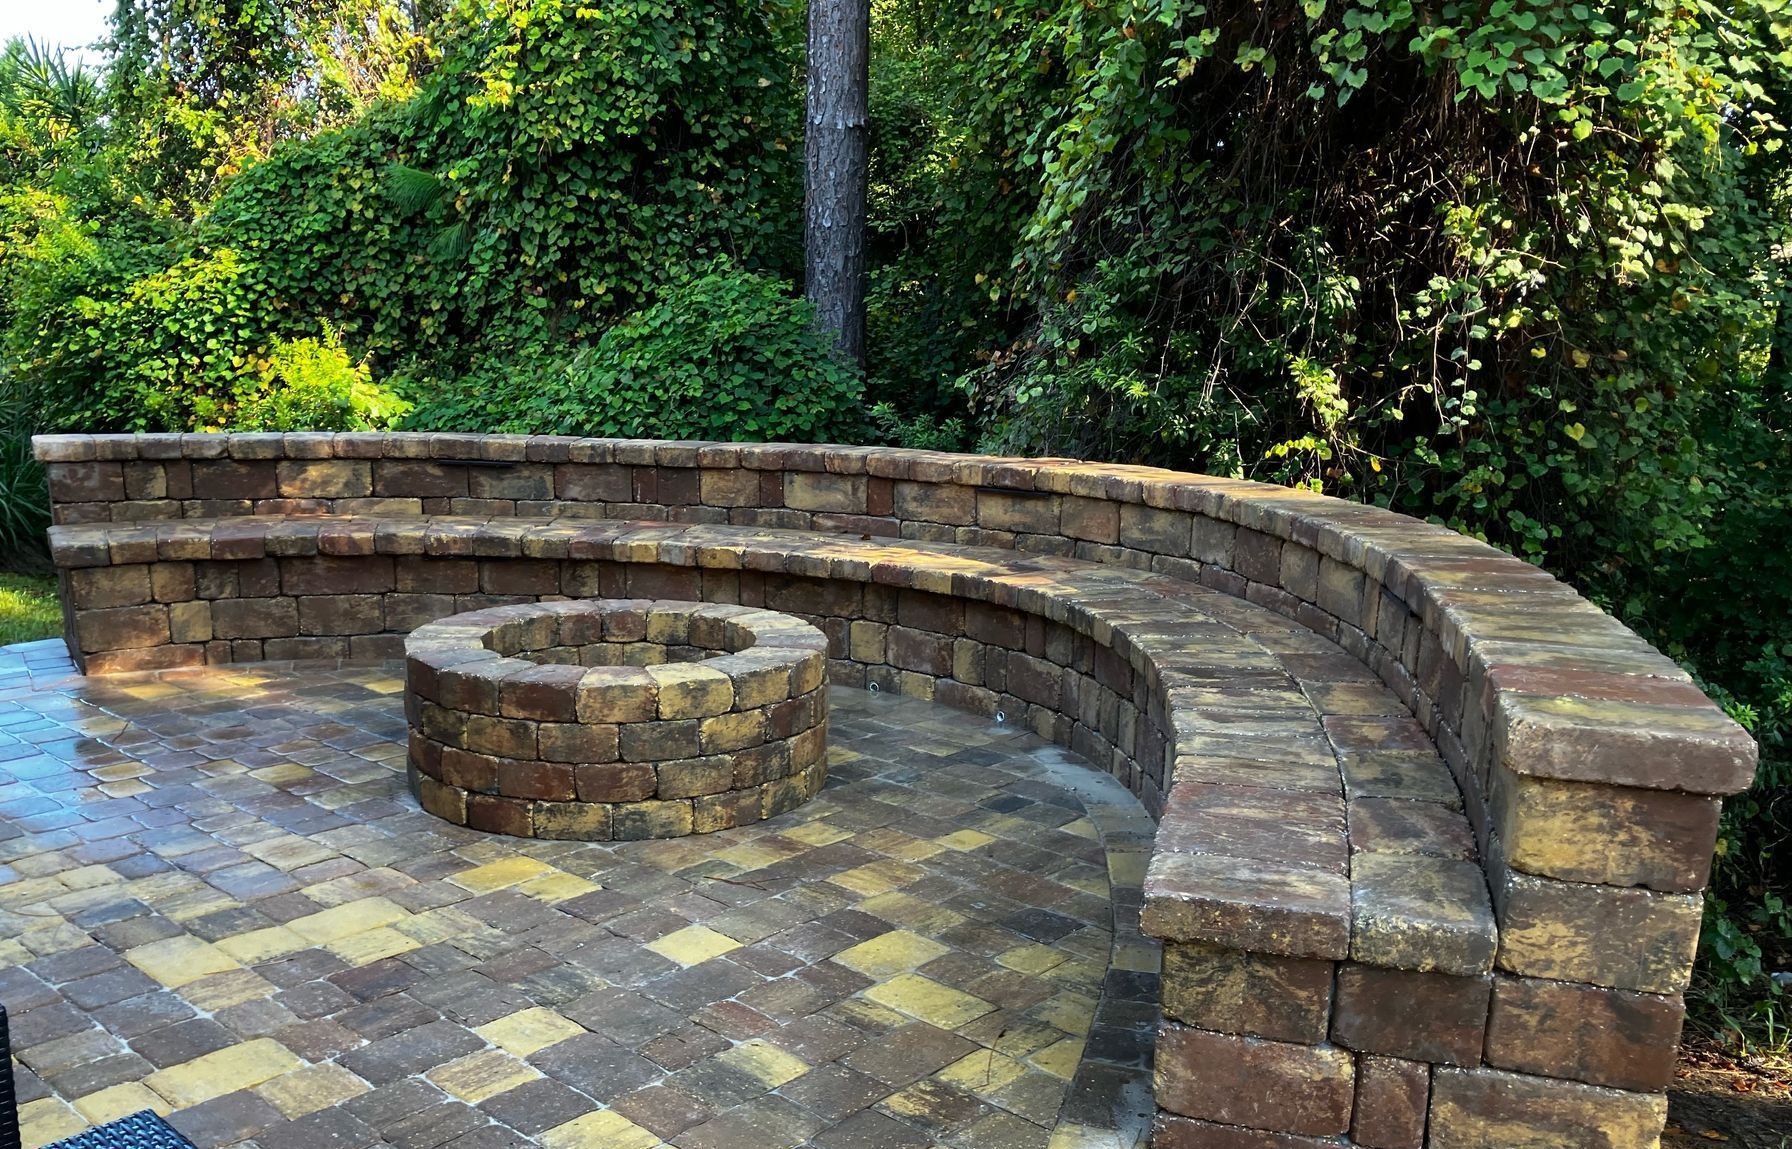
Guide to Building Steps in Your Walkway
Adding steps to your walkway is easier than it sounds if you break it down. Here’s how you can do it:
Measure the Height Difference
Find the total height difference between the top and bottom of your walkway. For example, measure from your porch to your driveway. Let’s say it’s 13 inches.
Figure Out the Step Height
Decide on the height for each step. This includes the thickness of the tread (like 3"), the riser height (4"), and any slope (1"), minus any overlap (½"). For this example, the step height comes to about 6.5 inches.
Calculate the Number of Steps
Divide the total height by the height of one step. For 13 inches with 6.5-inch steps, you’ll need two steps.
Build the Top Section First
Start by leveling and preparing the top portion of your walkway before adding the steps. This ensures a sturdy base for the rest of the project.
Install the Steps
Place the riser stones first, then lay the tread stones on top with a small overhang. Fill in behind the riser with limestone screening or similar material to stabilize the tread.
With careful measurements and some patience, adding steps to your walkway will look great and stand the test of time!
How Much Does a Paver Walkway Cost?
The cost of a paver walkway usually falls between $1,430 and $3,530, with the average being around $2,480. Smaller, straightforward walkways tend to cost less, while larger or more detailed designs can raise the price.
The
type of pavers—whether concrete, brick, or stone—affects the cost, as do extras like steps or curves. If you’re hiring professionals, labor fees will add to the total, but going the DIY route can help save money.
What Are the Best Pavers for a Walkway?
The best pavers for your walkway depend on your style, budget, and how you plan to use it. Here are some great options:
Concrete Pavers
Concrete pavers are affordable, strong, and come in a wide variety of shapes and colors. They’re perfect for creating custom designs and work well in high-traffic areas.
Brick Pavers
Brick pavers add a classic, timeless look to any walkway. They’re durable, eco-friendly, and resist stains and fading, making them a great long-term choice.
Natural Stone Pavers
Natural stones like flagstone, slate, or bluestone offer a unique and elegant look. They’re highly durable but can be more expensive than other options.
Gravel or Crushed Stone
For a casual, rustic vibe, gravel or crushed stone is a budget-friendly option. However, it needs regular maintenance to stay level and neat.
Think about durability, cost, and how the walkway fits with your space when choosing pavers. The right choice will make your path both functional and beautiful!
What Is the Proper Way to Lay a Base for Installing Paver Walkways?
To create a strong paver walkway, start with 4–6 inches of compacted gravel. This stabilizes the pavers and helps with drainage. Clear the area, spread the gravel evenly, and compact it firmly using a plate compactor or hand tamper.
For driveways or areas with vehicle traffic, use 8–12 inches of gravel for extra strength. A well-prepared base ensures your walkway stays level and durable for years!
Frequently Asked Questions
Are Flagstone Walkways More Expensive Than Pavers?
Yes, flagstone walkways usually cost more than pavers. The stone itself is more expensive, and it takes more skill and time to install. Professionals who work with flagstones need a lot of experience because it’s like an art to get it just right.
Can I Put Pavers on Dirt?
It’s not a good idea to lay pavers directly on dirt. For the best results, the ground should be leveled, excavated, and compacted to create a solid foundation.
Can Pavers Be Cemented Down for a Walkway?
Yes, pavers can be cemented down for a walkway, providing a strong and durable option for outdoor paths.
What Do You Put Under Pavers for a Walkway?
You can use crushed stone dust or sand under pavers because it’s easy to level and compact. These materials are available in bags or in bulk.
How Deep Should a Paver Base Be for a Walkway?
A paver base for a walkway should be about 6 inches deep after compaction. It provides a solid foundation and ensures proper drainage. Alternatively, interlocking base panels can be used instead of gravel.
What Is the Spacing for Pavers for a Walkway?
The standard spacing for walkway pavers is typically 24 inches from center to center. This distance is comfortable for most people's stride.
Let’s Create the Walkway of Your Dreams!
Building a paver walkway is a rewarding project that adds charm and durability to your outdoor space. With proper planning, the right materials, and attention to detail, you can create a path that enhances the beauty and functionality of your home.
If you’re looking for a trusted professional in St. Johns, FL, St. Johns Pavers is here to help! We proudly serve St. Johns, Julington Creek, Sampson, Ponte Vedra, Fruit Cove, and Nocatee.
Call us today at
(904) 664-8755 and let’s make your outdoor dream a reality!


Services
Contact Info
Call
Contact
Address
158 Red Cedar Dr, St Johns, FL 32259