Why DIY Patio Installation Is a Disaster Waiting to Happen: The Case for Paver Pros
Dreaming of a beautiful patio where you can relax or entertain guests? While a DIY project might sound like a fun and affordable option, it’s often not as easy as it seems. From costly mistakes to wasted weekends, the hidden challenges of installing a patio yourself can quickly turn your dream into a disaster.
Before you pick up that shovel, let’s explore why trusting the pros is the smarter choice for a patio that’s built to last.

Why DIY Patio Installation Seems Like a Good Idea
Saving Money Sounds Tempting
- Skip Labor Costs: It’s easy to think doing it yourself will save you tons of money since you won’t need to pay a contractor.
- But Hidden Costs Add Up: Renting tools like a compactor or wet saw, buying extra sand or gravel, or fixing mistakes can quickly eat into your budget.
Online Tutorials Make It Look Easy
- Step-by-Step Videos: You can find tons of YouTube videos or blog posts showing how to install a patio, and they make it look quick and simple.
- What They Don’t Show: Tutorials often skip over tricky details like prepping the soil, managing drainage, and ensuring the pavers don’t shift over time.
Adding a Personal Touch Feels Rewarding
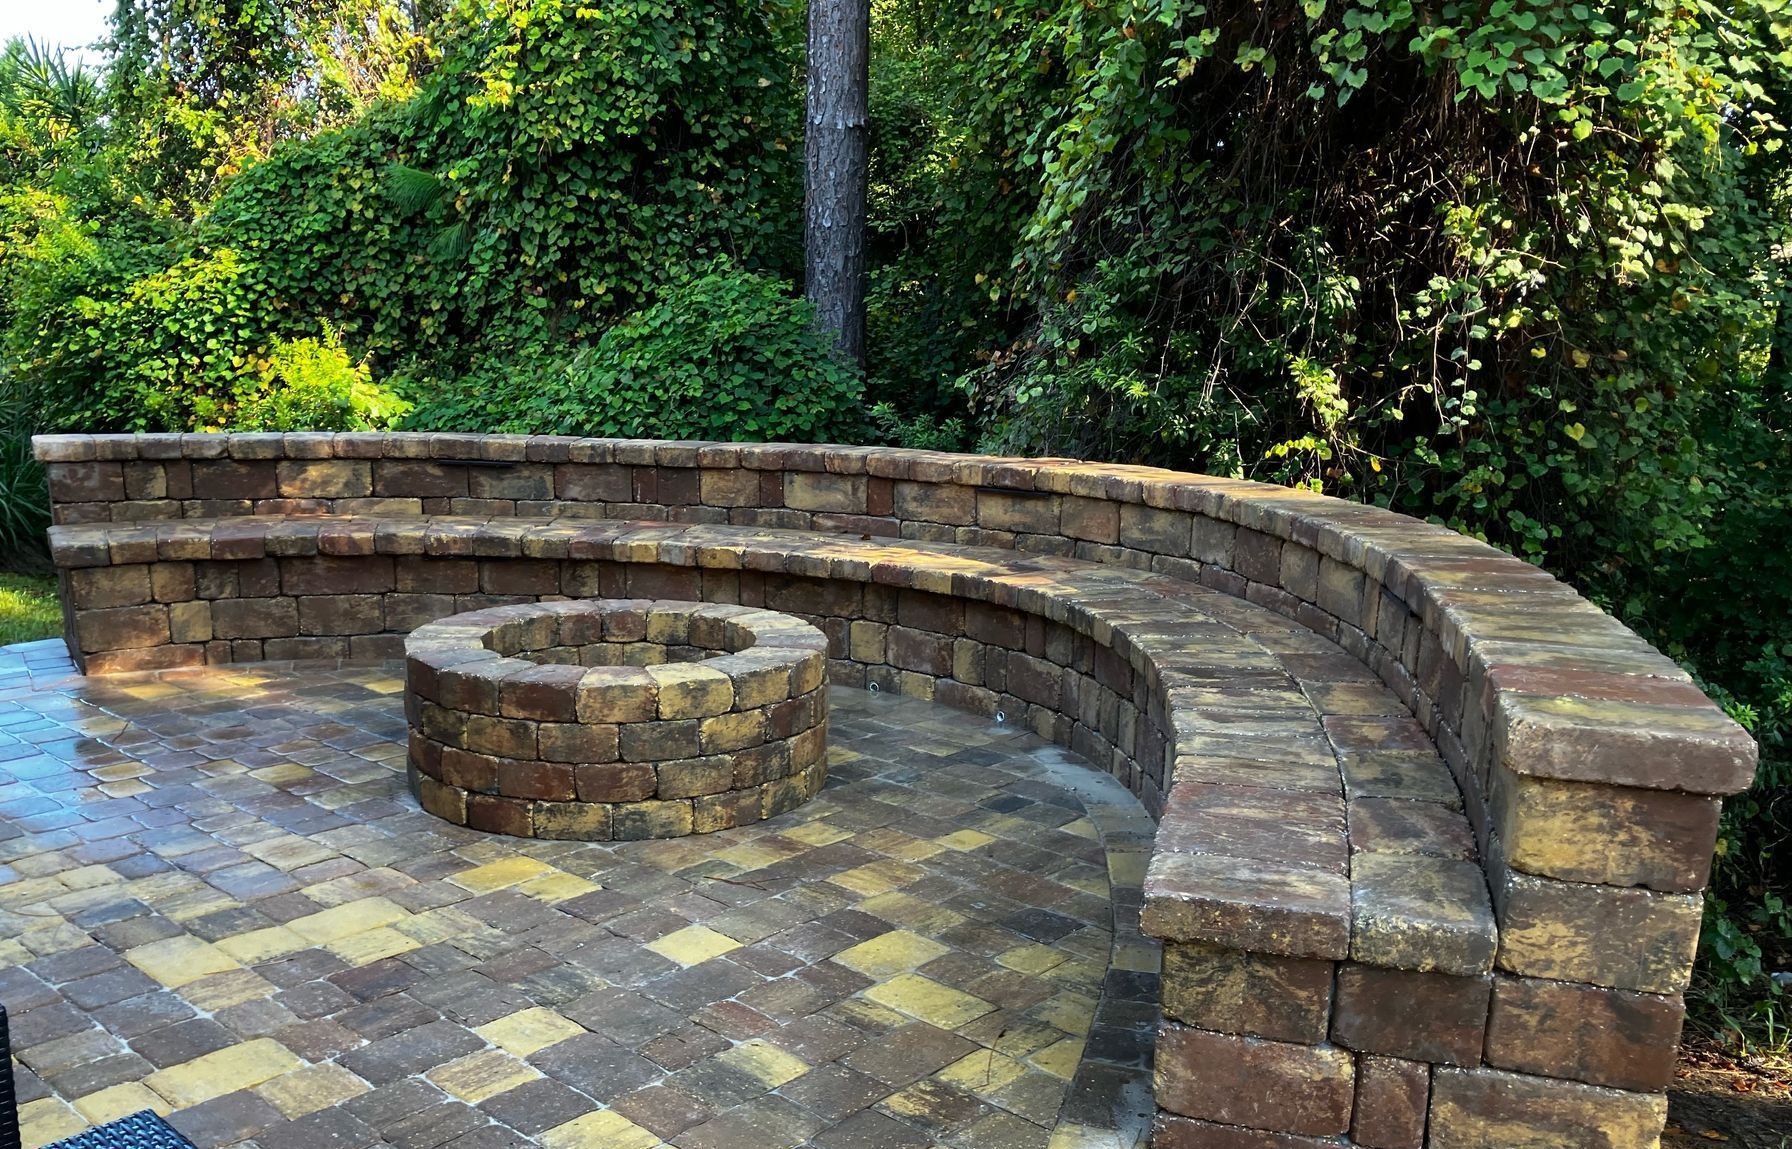
- Your Design, Your Rules: DIY gives you the freedom to design the layout, pick the pavers, and add features like a fire pit or walkway.
- The Catch: Combining style with proper construction is harder than it looks. One small mistake in spacing or leveling can ruin the whole project.
The “Fun Project” Idea
- It Feels Satisfying: The idea of creating a patio with your own hands sounds exciting and rewarding.
- Reality Check: Patio installation involves a lot of heavy lifting, digging, and precise measuring. It’s more exhausting than fun.
Why It’s Not as Simple as It Seems
- Requires Technical Skills: Installing pavers the right way means knowing how to level the ground, using the right amount of sand or gravel, and creating proper drainage to avoid pooling water.
- Mistakes Cost Time and Money: Uneven pavers, poor drainage, or incorrect soil prep can cause cracks, sinking, and expensive repairs.
The Real Problems with DIY Patio Installation
Skipping important steps or using the wrong materials can cause serious problems when building a patio yourself.
Skipping Prep Work
- Uneven Soil: If the ground isn’t level, your patio will sink or tilt over time.
- Poor Drainage: Without planning for water, puddles and erosion can ruin your yard.
- Weak Soil: Unstable soil causes shifting and cracks that are expensive to fix.
Using the Wrong Materials
- Cheap Pavers: Low-quality pavers crack, fade, or break under weather and heavy use.
- Weak Base: You need the right mix of gravel, sand, and a strong foundation to avoid shifting.
- Wrong Materials for Climate: Pavers that can’t handle freezing will crack and need replacing.
DIY Mistakes
- Crooked Pavers: Misaligned pavers or gaps look bad and are unsafe.
- Weak Foundation: Skipping steps like compacting the soil causes sinking and crumbling.
Forgetting Permits
- Building Codes: Skipping permits can lead to fines or being forced to redo the work.
- Poor Drainage: Bad water management can flood your yard or a neighbor’s property.
Small Mistakes Cost Big Money
- Misjudging Slope: One mistake can ruin the whole project.
- Higher Costs:
Fixing errors or hiring pros later is more expensive than doing it right the first time.
The Hidden Costs of DIY Patios
Expensive Tools You May Never Use Again
Installing a patio requires special tools like a compactor, wet saw, and screed, which aren’t cheap to rent or buy. These tools are often only used once, making the expense hard to justify. Even seemingly basic items like a shovel or rake can be forgotten, resulting in extra trips to the store and additional costs.
Mistakes Mean Wasted Materials
Errors during the installation process can quickly inflate your expenses. Misjudging cuts or measurements leads to wasted pavers, sand, and gravel, while improper slope and leveling result in drainage issues that require costly fixes. These mistakes can ruin your budget and your patio’s functionality.
Repairs Can Blow Your Budget
When something goes wrong, repairing it often costs more than the original installation. Fixing uneven pavers or addressing a weak base might mean starting over entirely, doubling your material and labor costs. Many DIYers end up calling a professional to fix their mistakes, which is often more expensive than hiring a pro from the start.
DIY Takes Longer Than You Think
What seems like a simple weekend project can easily turn into weeks of labor. Digging, leveling, and laying pavers are time-intensive tasks, especially if you’re working alone. Instead of enjoying your outdoor space, you’ll spend your free time hauling materials, troubleshooting issues, and trying to finish the job.
Why DIY Patios Often Go Wrong
Lack of Experience Causes Problems
- Drainage Mistakes Can Ruin Everything: Without proper leveling, water pools and damages your patio and yard.
- Uneven Pavers Look and Feel Bad: Misaligned or wobbly pavers are an eyesore and a tripping hazard.
- Skipping Steps Leads to Cracks: Forgetting things like compacting or sealing can leave your patio falling apart in no time.
DIY is Harder (and Riskier) Than It Looks
- Safety First—But Not Always in DIY: Uneven surfaces and weak foundations make your patio unsafe for you and your family.
- The Workload is Overwhelming: Digging, hauling gravel, and laying pavers takes more time and energy than you think.
Hidden Costs Sneak Up on You
- Tools Cost a Fortune: Renting a compactor, wet saw, and other tools can quickly blow your budget.
- Fixing Mistakes Isn’t Cheap: Common errors like drainage problems or broken pavers cost even more to fix.
What seems like a simple weekend project can easily turn into weeks of labor. Digging, leveling, and laying pavers are time-intensive tasks, especially if you’re working alone. Instead of enjoying your outdoor space, you’ll spend your free time hauling materials, troubleshooting issues, and trying to finish the job.
Why Professional Installation Is the Smarter Choice
Professionals Prepare Like Pros
Experts know how to do the job right from the start. They make sure the ground is flat, compact, and ready to hold your patio without sinking or cracking. They also pick the best materials for your yard and weather, like sturdy pavers and the right sand and gravel mix. Plus, they use tools like compactors and saws, so you don’t have to rent or learn how to use them.
Faster Work, Better Results
Professionals can finish a patio in just a few days, while DIY projects often take weeks. They know how to avoid mistakes like uneven pavers, bad drainage, or gaps that can ruin the patio. Their experience means your patio will look smooth and last a long time.
Peace of Mind Comes Standard
Pros handle permits and follow all building rules, so you don’t have to worry about fines or problems later. Many offer warranties, so if anything goes wrong, they’ll fix it. They also make sure your patio can hold furniture, fire pits, and anything else you want to add.
Saves You More Than You Think
Hiring professionals can save you money in the long run. They plan the project carefully, so you don’t waste money on extra materials or fixing mistakes. A well-built patio also adds value to your home and gives you a beautiful outdoor space to enjoy without the stress of doing it yourself.
Tips to Avoid a Patio Disaster
Hire Professionals
Professional contractors know how to prepare the soil, ensure proper drainage, and lay pavers correctly. They have the tools, experience, and knowledge to avoid mistakes. They also handle permits and follow local building codes.
Plan Your Budget
include materials like sand, gravel, and landscape fabric in your budget. Account for labor costs if hiring professionals and add extras like lighting or furniture. Invest in quality materials to avoid costly repairs later.
Use Quality Materials
Choose durable pavers such as concrete or flagstone. Compact gravel and sand properly to create a stable base. Apply a sealant to protect against water damage and wear.
Focus on Design and Function
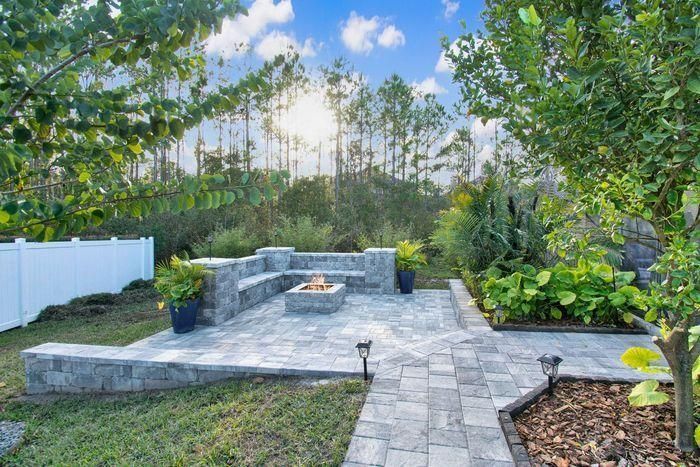
Plan the patio layout to fit your needs, such as space for a fire pit or seating. Ensure proper drainage by grading the soil. Add lighting, plants, and furniture to complete the space.
Extra Tips
- Use materials that suit your climate.
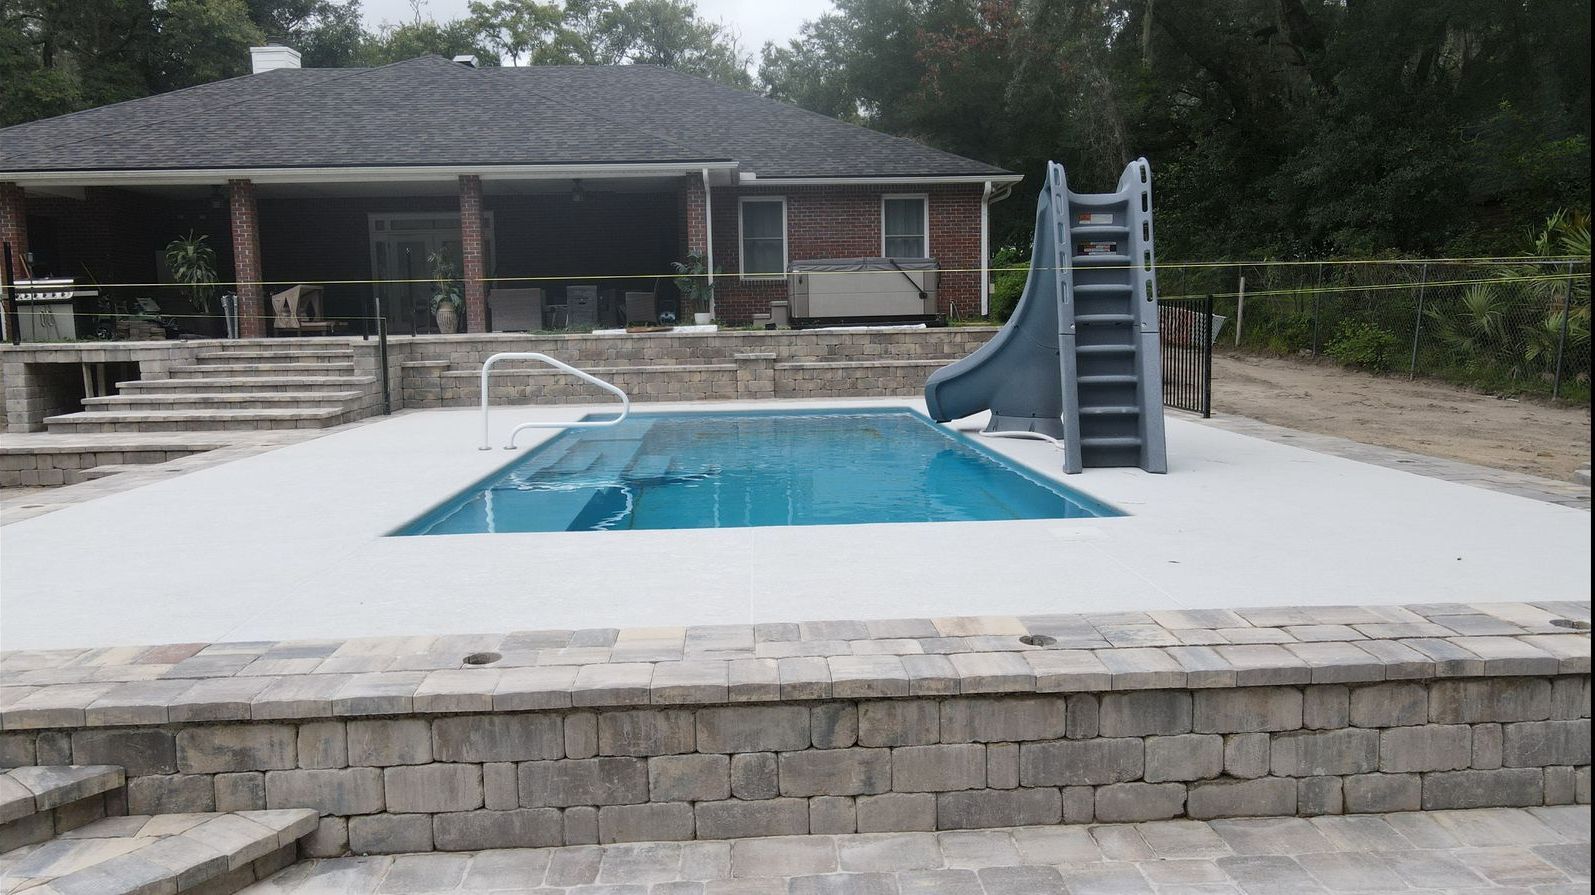
- Build retaining walls for sloped yards.
- Add walkways for better access.
- Choose low-maintenance materials.
Frequently Asked Questions
How to install paver patio?
Plan the Patio Area
- Outline the area using a garden hose for a basic shape, then refine it with stakes and twine.
- Calculate the amount of pavers, base material, and sand by measuring the length and width (square footage). Add 10–20% for waste, especially for curved or diagonal patterns.
Dig Out Turf and Soil
- Remove grass and dig down about 6 inches to allow for 4 inches of base material, 1 inch of sand, and 1 inch for the pavers.
- Ensure the area slopes 1 inch for every 48 inches to allow proper drainage.
Smooth and Tamp the Area
- Use a shovel to level the surface, then compact the soil with a tamping tool to create a solid base.
Lay the Base Material
- Spread crushed rock or gravel evenly, screed it smooth with a board, and tamp it firmly. Lightly spray with water to help compact the material better.
Add Edging
- Install edge restraints to keep the pavers in place. Secure them with stakes if required.
Lay Coarse Sand
- Spread 1 inch of coarse sand evenly over the base. Use 3/4-inch pipes as guides for consistent height, screed with a board, and carefully remove the pipes.
Cut Pavers (If Needed)
- Use a masonry saw or angle grinder to cut pavers for edges. Wear safety gear, including goggles and a mask.
Lay the Pavers
- Place the pavers on the sand with tight joints. Use a hammer with a piece of wood to gently tamp them into place.
Add Sand to Joints
- Sprinkle fine sand over the pavers and brush it into the joints. Sweep away the excess sand for a clean finish.
What do you put under pavers?
Under pavers, you can use materials like sand, mortar, bituminous material, or pedestals, depending on the type of installation.
Sand or Mortar?
Choosing between sand and mortar depends on the purpose of the patio or walkway. Mortar is the preferred method for areas with heavy foot traffic or vehicles because it creates a strong, rigid base. Sand is more common for flexible systems, like patios or paths, where slight movement is acceptable.
Can I lay pavers directly on soil?
No, it’s not recommended to lay pavers directly on soil or unprepared ground. For pavers to look good and stay in place, the ground needs to be properly prepared by leveling, excavating, and compacting it to create a solid and stable base.
Do I need cement under pavers?
No, you don’t always need cement under pavers. Pavers can be installed using other methods, like laying them on a base of sand or gravel. These methods, often called sand-based or dry-laying, are effective and don’t require cement.
What is the best foundation for pavers?
The best foundation for pavers is a base made of 1/4″-10 crushed gravel or crushed stone. This type of base is porous, allowing water to drain easily, which helps prevent problems like shifting or damage caused by water pressure. It creates a strong, stable, and durable support for your pavers.
Transform Your Outdoor Space Without the Stress
DIY patio installation can quickly turn into a costly and stressful ordeal, but there’s no need to go it alone. If you’re looking for a trusted paver installation company in St. Johns, FL, St. John Pavers is here to help! Serving St. Johns, Julington Creek, Sampson, Ponte Vedra, Fruit Cove, and Nocatee, we bring the expertise, tools, and materials needed to create the patio of your dreams.
Call us today at
(904) 664-8755 to get started. Let us take the hard work off your plate and deliver a stunning patio you’ll enjoy for years to come!
Services
Contact Info
Call
Contact
Address
158 Red Cedar Dr, St Johns, FL 32259
St. Johns Pavers | Website Design by: Quantum Hawk

